Adapted from Damn Delicious
Ingredients:
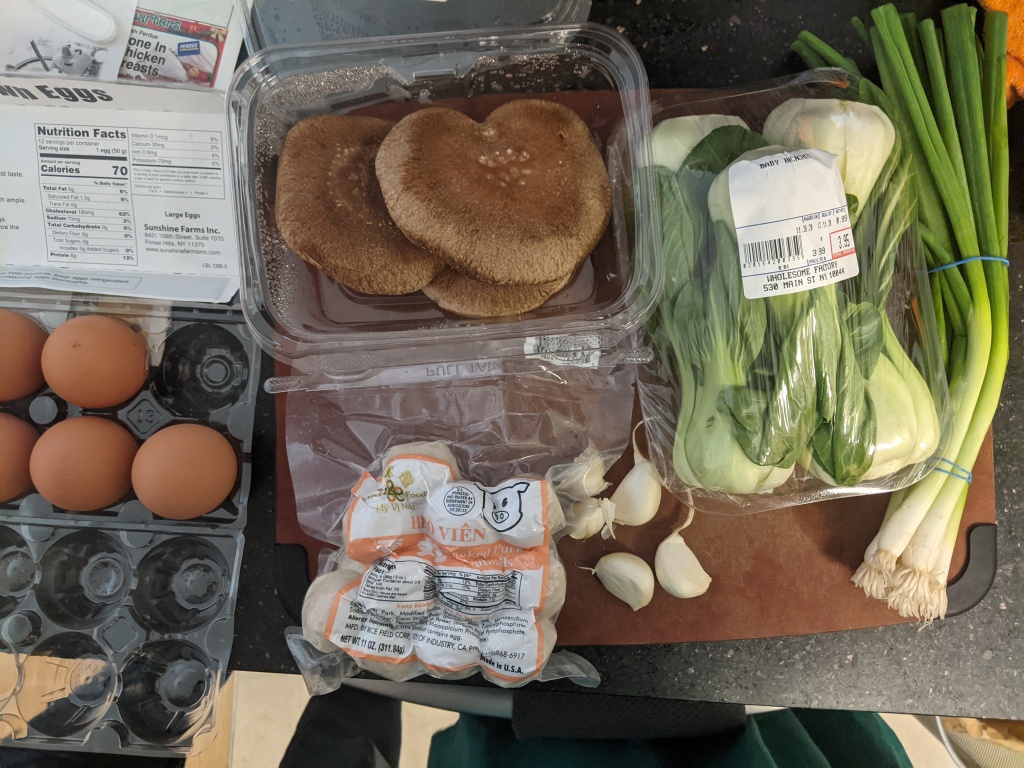
- 2 large eggs
- 1 tablespoon canola oil (peanut oil works too)
- 4 cloves garlic, minced
- 1 tablespoon freshly grated ginger (missing!)
- 4 cups chicken broth
- 4 ounces shiitake mushrooms (also had homegrown oyster mushrooms)
- 1 tablespoon soy sauce, sesame oil, rice wine
- 3 (5.6-ounce) packages refrigerated Yaki-Soba, seasoning sauce packets discarded*
- 2 bok choy
- 8 slices Narutomaki, optional*
- 1 carrot, grated
- 2 tablespoons chopped scallions
Directions:
- Place eggs in a large saucepan and cover with cold water by 1 inch. Bring to a boil and cook for 1 minute. Cover eggs with a tight-fitting lid and remove from heat; set aside for 8-10 minutes. Drain well and let cool before peeling and halving. (I might revise and post a different soft boiled egg direction because ours came out hard boiled!)
- Heat olive oil in a large stockpot or Dutch oven over medium heat. Add garlic and ginger and scallions whites, and cook, stirring frequently, until fragrant, about 1-2 minutes.
- Whisk in chicken broth, mushrooms, soy sauce (and seasonings) and 3 cups water.
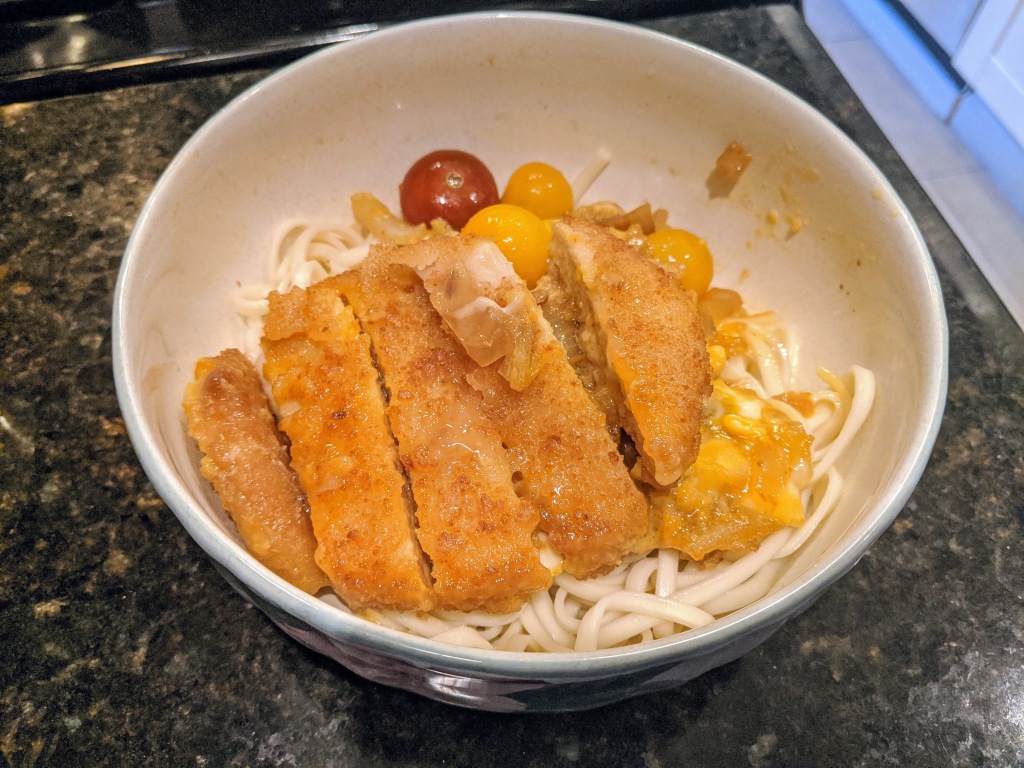
- Bring to a boil; reduce heat and simmer until mushrooms have softened, about 10 minutes. Stir in Yaki-Soba until loosened and cooked through, about 2-3 minutes. (I used different noodles, which got sticky! Flavor still amazing though.)
- Stir in bok choy, Narutomaki (wish I had, got Vietnamese hot pot pork balls instead), carrot and scallions until the greens begins to wilt, about 2 minutes.
- Serve immediately, garnished with eggs.
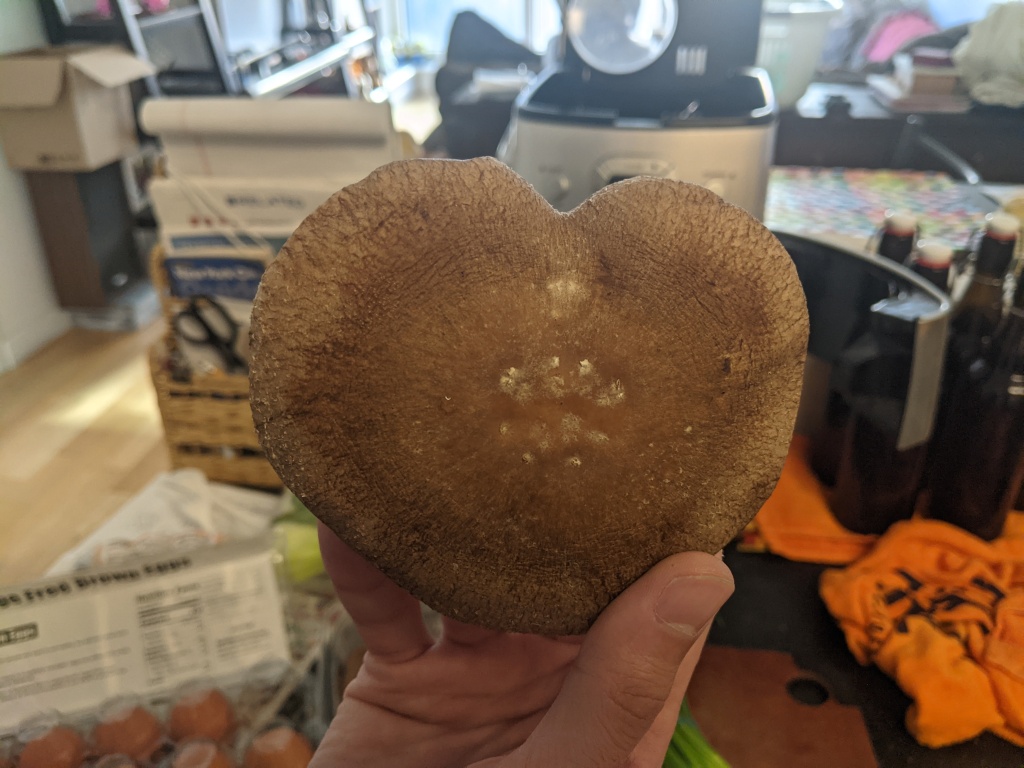


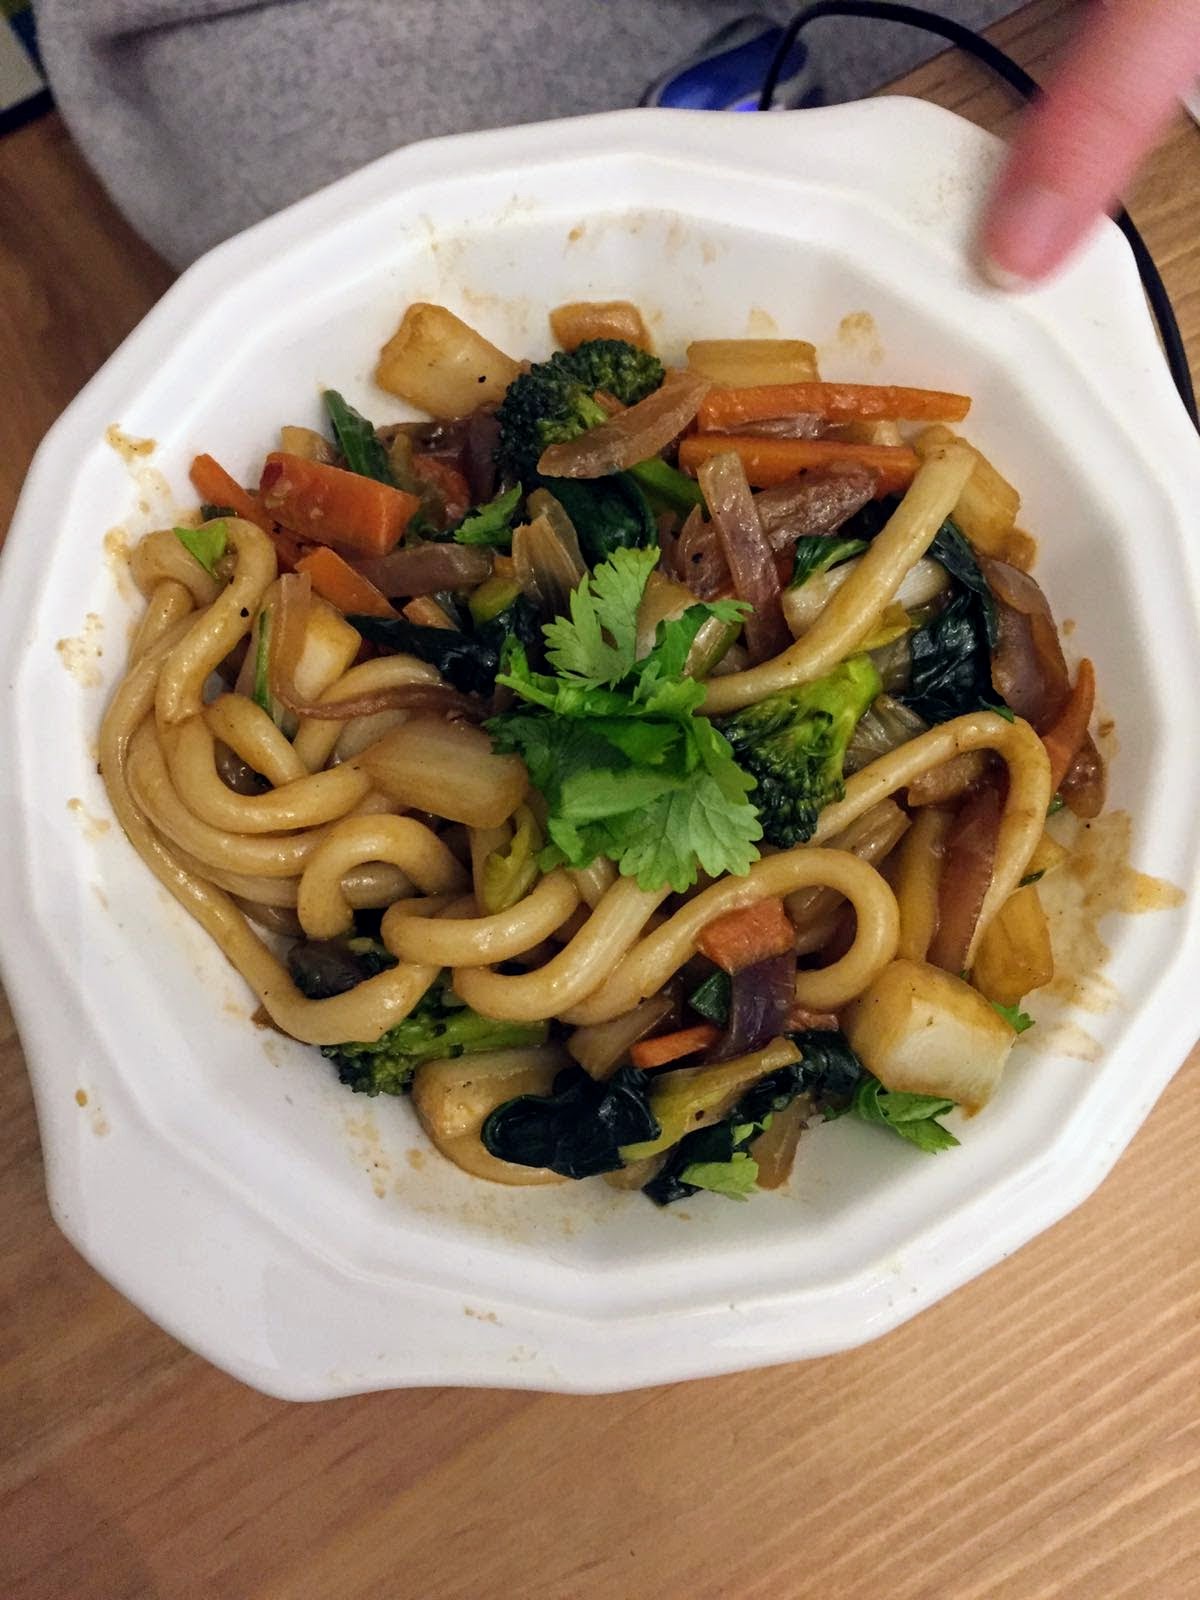
This was perfect for a cold winter’s meal. I wanted to use these fresh Chinese noodles I had, but they might have been not the most suitable. I will use real yakisoba noodles next time — Sun Noodles’ Shoyu and Miso flavors are good! Other classic ramen toppings I really love: Chāshū (sliced barbecued or braised pork), Seasoned Soy soft-boiled egg (“Ajitsuke Tamago“), Bean sprouts, Menma (lactate-fermented bamboo shoots), Kakuni (braised pork cubes or squares), Kikurage (wood ear mushroom), Nori (dried seaweed), Kamaboko (formed fish paste, only the pink and white spiral is called narutomaki), Corn, Butter, and Wakame (a different type of seaweed). Wiki I also grew my own oyster mushrooms — a gift from a friend for my classroom (pre-pandemic).
Next time for the eggs, I will 1) leave the eggs in the fridge until the water is boiling and 2) Prepare an ice water bath and 3) marinate them in soy sauce-sugar-mirin-sake for 2 days.
~Jessie


 Adapted from


